
How to Make Velcro Patches With an Embroidery Machine
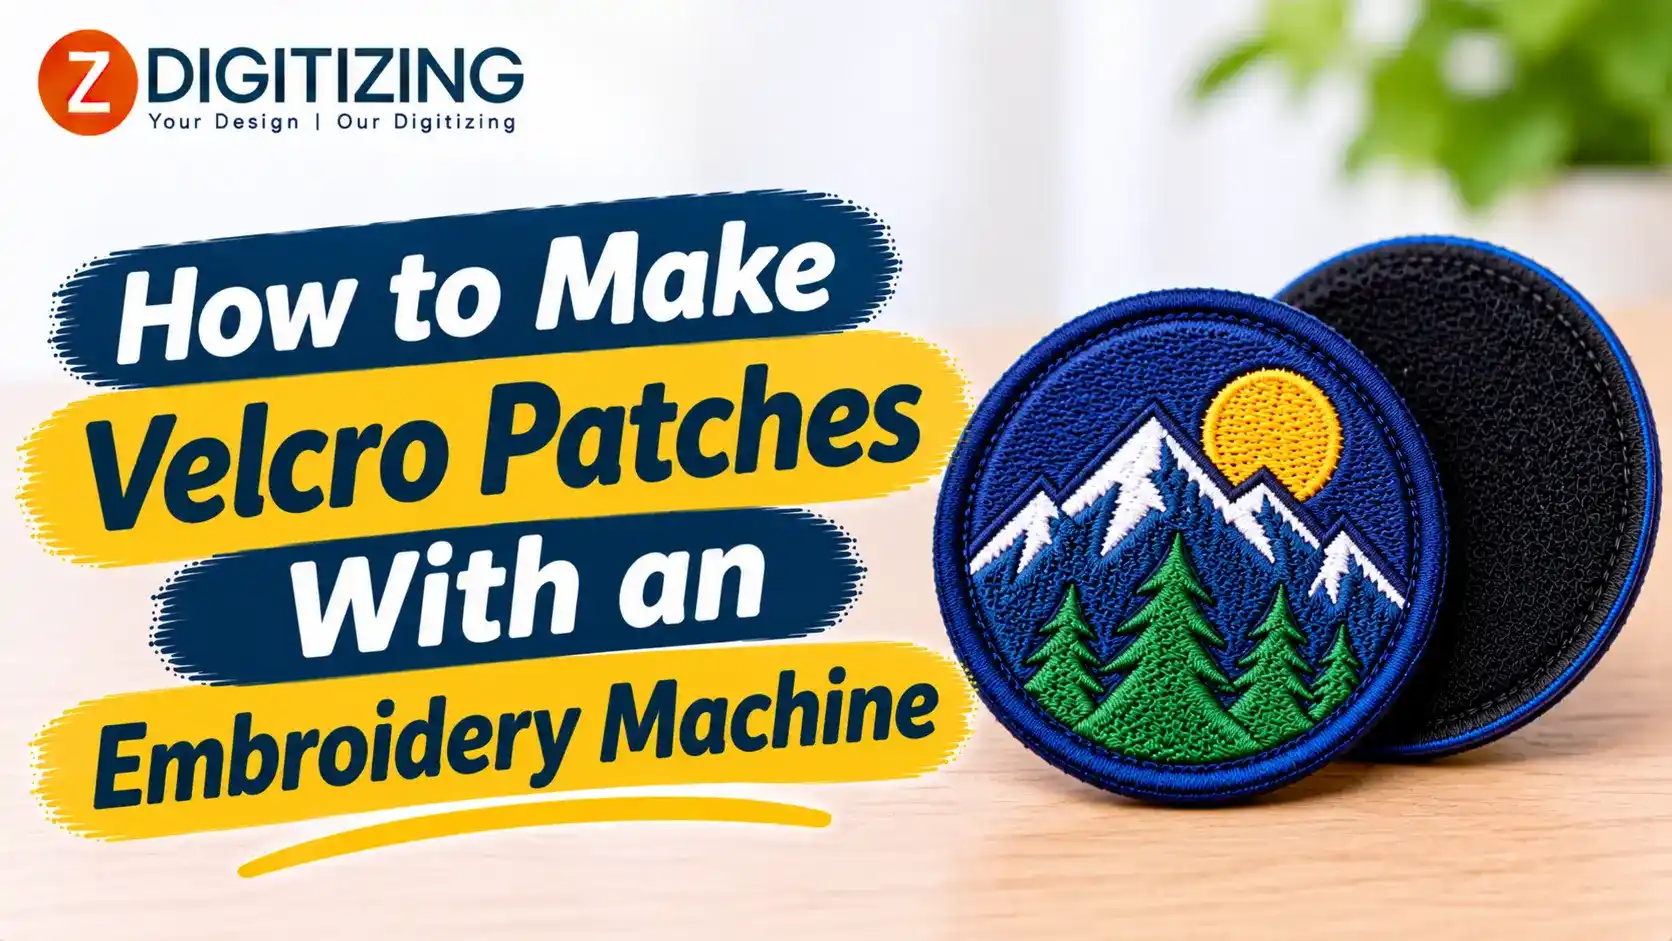
Velcro patches are a popular way to customize clothing, uniforms, bags, hats, jackets, and tactical gear. They are easy to attach, remove, and replace, making them useful for both personal and commercial projects. Whether you want to create personalized name patches, company logos, military-style designs, or decorative badges, an embroidery machine can help you produce professional-looking results.
Making Velcro patches with an embroidery machine is not as complicated as it may seem. With the right materials, proper design preparation, and a few embroidery techniques, you can create durable patches that look clean and attractive. The most important steps include preparing your design, selecting suitable stabilizers, embroidering the patch, attaching the hook-and-loop backing, and finishing the edges.
In this guide, we will explain how to make Velcro patches step by step, discuss the materials you need, and share practical tips to help you achieve better embroidery results.
What Are Velcro Embroidery Patches?
Velcro embroidery patches are decorative or functional fabric badges with a hook-and-loop fastening system attached to the back. Instead of sewing a patch permanently onto clothing, you can attach or remove it whenever needed.
These patches usually have two separate components:
-
Hook backing: The rough side that grips the loop material.
-
Loop backing: The soft side that receives the hooks.
The embroidered design is generally created on twill, felt, or another suitable fabric. After embroidery, the patch is cut, finished around the edges, and attached to a compatible hook-and-loop backing.
Velcro patches are widely used for uniforms, workwear, sports clothing, backpacks, tactical equipment, and promotional products. They are especially useful when designs or identification labels need to be changed regularly.
Materials and Equipment Needed
Before starting your project, collect all the necessary materials. Using suitable supplies will make the embroidery process easier and help your patches last longer.
1. Embroidery Machine
You need an embroidery machine capable of stitching your selected design. A single-needle machine is suitable for small projects, while multi-needle machines can make larger production jobs faster.
2. Embroidery Fabric
Choose a strong fabric that can support the stitches. Common options include:
-
Polyester twill
-
Cotton twill
-
Felt
-
Canvas
-
Specialty patch material
Twill is one of the most popular choices because it provides a smooth surface and holds embroidery stitches well.
3. Embroidery Thread
Use high-quality polyester or rayon embroidery thread. Polyester thread is generally preferred for patches that will experience frequent handling, washing, or outdoor use because of its durability.
4. Stabilizer
A cutaway or tearaway stabilizer can provide support during embroidery. The best option depends on your fabric, design density, and machine setup.
5. Hook-and-Loop Material
Purchase sew-on hook-and-loop material suitable for your patch. You will need the rough hook side for the patch backing and the soft loop side for the garment or equipment.
6. Other Essential Supplies
You may also need:
-
Embroidery needles
-
Embroidery scissors
-
Temporary fabric adhesive
-
Heat-resistant tape, if appropriate
-
Patch border thread
-
Fabric marking pen
-
Sewing machine or hand-sewing supplies
Having everything ready before starting will help you avoid unnecessary interruptions.
How to Make Velcro Patches With an Embroidery Machine: Step-by-Step Guide
Creating a Velcro patch involves several stages, from preparing the artwork to attaching the final backing. Follow these steps to achieve a neat and professional result.
Step 1: Create or Select Your Embroidery Design
Start by choosing the design you want to turn into a patch. It could be a company logo, name, symbol, custom illustration, or decorative artwork.
Keep the design suitable for the patch size. Very small lettering, thin lines, and complicated details can become difficult to embroider accurately.
Consider these points when selecting your artwork:
-
Use clear shapes and readable text.
-
Avoid unnecessary small details.
-
Choose colors that contrast with the patch fabric.
-
Keep the design within the available embroidery area.
-
Leave enough space for the outer border.
Once your artwork is ready, it needs to be converted into a machine-readable embroidery file.
Step 2: Digitize the Design
Digitizing is one of the most important parts of making a quality embroidered patch. It involves converting artwork into stitch instructions that an embroidery machine can understand.
During digitizing, the design is assigned different stitch types, directions, densities, and underlay settings. These details determine how the embroidery machine creates the final design.
For Velcro patches, the digitizing process should consider:
-
Fabric thickness and stability.
-
Appropriate stitch density.
-
Correct underlay for the design.
-
Proper stitch direction.
-
Suitable lettering size.
-
A clean and secure border.
Poor digitizing can cause thread breaks, fabric puckering, uneven coverage, and distorted lettering.
If you need professionally prepared embroidery files, ZDigitizing provides embroidery digitizing services for custom logos, lettering, and other designs. Proper digitizing can help ensure that your artwork is ready for smooth machine stitching.
Step 3: Prepare the Fabric and Stabilizer
After preparing the embroidery file, select the fabric for your patch. Cut a piece slightly larger than the final patch dimensions.
Place the appropriate stabilizer underneath the fabric. The stabilizer supports the material and helps prevent movement while the machine stitches the design.
For most patch projects, medium-weight cutaway or tearaway stabilizers can work well, depending on the fabric and design.
Make sure the fabric and stabilizer are smooth before hooping. Wrinkles or loose material can affect stitch placement.
Step 4: Hoop the Material Properly
Hooping is essential for maintaining accurate embroidery placement.
Place the stabilizer in the embroidery hoop and position your patch fabric over it. Tighten the hoop until the material is secure but not stretched excessively.
Check the following before loading the design:
-
The fabric is flat and wrinkle-free.
-
The stabilizer covers the embroidery area.
-
The material does not move inside the hoop.
-
The design is positioned correctly.
-
The hoop is properly secured to the machine.
Incorrect hooping can cause misalignment and uneven stitching, so take your time with this step.
Step 5: Embroider the Main Design
Load the digitized embroidery file into your machine using a compatible format, such as DST, PES, EXP, or JEF, depending on your machine model.
Select the appropriate needle and thread, then check the machine settings.
Start the embroidery process at a controlled speed. Keep an eye on the machine while it works, especially if you are making patches for the first time.
Watch for:
-
Thread breaks
-
Loose stitches
-
Fabric shifting
-
Thread tension problems
-
Uneven stitch coverage
Once the design is complete, remove the hoop carefully. Avoid pulling the embroidered material because this can damage the stitches.
Step 6: Add the Patch Border
A strong outer border gives your Velcro patch a finished appearance and helps protect its edges.
Depending on your design, you can use a satin stitch border or another suitable finishing method. Merrow-style borders are also popular for embroidered patches, although they require suitable equipment or finishing techniques.
If your design includes a digitized border, make sure it aligns correctly with the patch outline.
A properly finished border should:
-
Cover the raw fabric edges.
-
Keep the patch shape consistent.
-
Prevent fraying.
-
Provide a clean, professional appearance.
Step 7: Cut Out the Patch
After embroidery and border stitching are complete, remove the patch from the hoop.
Use sharp embroidery scissors to trim away the extra fabric around the design. Follow the border carefully, leaving enough material to avoid cutting into the stitches.
If you are using a heat-cuttable patch material, an appropriate cutting tool may help seal the edges. However, always check that your fabric is compatible with heat cutting.
Work slowly around corners and curves to maintain a smooth outline.
Step 8: Attach the Velcro Backing
Now it is time to add the hook-and-loop backing.
Cut the hook material to match the shape of your embroidered patch. Position it on the back, ensuring that it covers the necessary area without extending beyond the edges.
You can attach the backing using several methods:
Sewing Method: Place the hook material against the back of the patch and sew around its edges. This method provides a durable attachment and is suitable for patches that will be used frequently.
Adhesive Method: Some hook-and-loop products come with adhesive backing. These may be useful for temporary or light-duty projects, but adhesive alone may not provide enough durability for frequently handled patches.
Combination Method: For stronger results, use a compatible adhesive to hold the backing in position before sewing it securely.
For professional-quality patches, sewing is generally the more dependable option.
Step 9: Prepare the Matching Loop Surface
Your embroidered patch has the rough hook side on its back. To attach it to clothing or equipment, you also need the matching soft loop material.
Cut the loop fabric to the desired size and sew it onto the garment, bag, or other surface.
If you want to make the patch removable, avoid sewing the hook backing directly to the garment. The two components should connect through their hook-and-loop surfaces.
Step 10: Inspect and Test the Finished Patch
Your Velcro embroidery patch is now ready for inspection.
Attach it to the matching loop material and check whether it holds securely. Gently pull the patch away to test the fastening strength.
Also examine the embroidery for loose threads, uneven borders, and exposed fabric edges.
If everything looks clean and secure, your patch is ready to use.
Tips for Making Professional-Quality Velcro Patches
Even when you follow every step, a few additional techniques can improve your results.
Choose the Right Patch Size
The patch size should match the intended use. Small patches are suitable for names and simple symbols, while larger patches provide enough room for detailed logos and artwork.
Use Suitable Stitch Density
Too many stitches can make the patch stiff and create unnecessary thread buildup. Too few stitches can leave the fabric visible through the design.
A properly digitized design balances coverage, durability, and flexibility.
Select Durable Thread
Polyester embroidery thread is a practical choice for patches that will experience regular use. It generally offers good resistance to wear and fading.
Secure the Backing Properly
Do not rely only on weak adhesive if the patch will be used on tactical equipment, uniforms, or frequently handled bags. Reinforced stitching provides better long-term attachment.
Test Before Bulk Production
Always make a sample patch before producing a large quantity. Testing helps identify problems with sizing, stitch density, thread tension, and backing attachment.
Common Mistakes to Avoid When Making Velcro Patches
Beginners sometimes experience problems because they overlook small details during preparation and finishing.
Here are some common mistakes to avoid:
1. Using Poor-Quality Artwork: Low-resolution or complicated artwork can create problems during digitizing. Start with clear artwork whenever possible.
2. Incorrect Stabilizer Selection: An unsuitable stabilizer can cause fabric movement, puckering, and distorted stitches.
3. Improper Hoop Tension: Stretching the fabric too tightly can change its shape and affect the final embroidery.
4. Weak Border Finishing: An incomplete border can allow the patch edges to fray over time.
5. Poor Backing Attachment: If the hook material is not secured properly, it may separate from the patch during use.
6. Skipping Sample Testing: Producing multiple patches without testing the design first can lead to wasted materials and additional production costs.
Paying attention to these details will help you create patches that look attractive and remain functional.
Conclusion
Making Velcro patches with an embroidery machine is a practical way to create customized, removable designs for clothing, uniforms, bags, and accessories. The process involves selecting suitable materials, preparing and digitizing the artwork, hooping the fabric, embroidering the design, finishing the edges, and attaching the hook-and-loop backing.
The quality of your final patch depends on more than just the embroidery machine. Proper digitizing, stabilizer selection, stitch settings, and secure backing attachment all contribute to a professional result.
Whether you are making patches for personal projects or starting a small embroidery business, practicing these techniques can help you improve your production quality. With properly prepared embroidery files and durable materials, you can create attractive Velcro patches that are both functional and long-lasting. ZDigitizing can also help with professional embroidery digitizing when you need clean, machine-ready designs for your custom patch projects.
5 Frequently Asked Questions About Velcro Embroidery Patches
1. Can You Make Velcro Patches With Any Embroidery Machine?
Yes, most embroidery machines can be used to make Velcro patches if they support the required design size and embroidery format. You also need suitable fabric, stabilizer, thread, and hook-and-loop backing.
2. What Fabric Is Best for Embroidered Velcro Patches?
Polyester twill is one of the most popular choices because it is durable, stable, and provides a smooth embroidery surface. Felt and canvas are also suitable for certain patch styles.
3. Do You Need Special Digitizing for Velcro Patches?
Yes, proper digitizing is important because patch designs need suitable stitch density, underlay, stitch direction, and border settings. These factors help create clean embroidery and reduce production problems.
4. How Do You Attach Velcro to an Embroidered Patch?
You can attach hook-and-loop material by sewing it onto the back of the embroidered patch. A compatible adhesive can help position the material before stitching, but sewing is generally recommended for better durability.
5. Can Velcro Embroidery Patches Be Washed?
Yes, many Velcro patches can be washed, but their durability depends on the fabric, thread, backing, and attachment method. Close the hook-and-loop fastener before washing and follow the care instructions for the materials used.

 Polish
 Arabic
 French
 Spanish
 Portuguese
 Deutsch
 Turkish
 Dutch
 Italiano
 Russian
 Romaian
 Portuguese (Brazil)
 Greek